Before using the Innerspace Simulator - HTC Vive Pro
This section covers the prerequisites of a Simulator session.
This set of instructions can also be found on the inside of the provided trainer guide.
Additional to the trainer guide you can find relevant troubleshooting options or helpful articles linked.
|
|
1. Ensure there are no obstacles in the training area, no direct sunlight and no reflective surfaces. |
|
|
2. Clean and disinfect the equipment. |
|
|
3. Switch on the base station sensors. After a few seconds, the light will turn to green. |
|
|
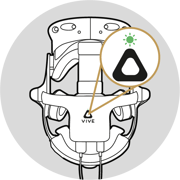
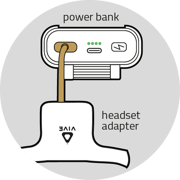
4. Connect the headset adapter to the power bank and switch it on with the
|
|
|
5. A green light appears on the headset adapter. This light blinks until the headset adapter is connected to the VIVE Wireless application. |
|
|
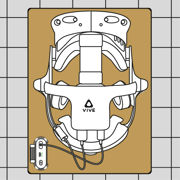
6. Place the headset and power bank on the mat in the middle of the training area.A large mousepad is provided with the equipment. The purpose of this step is to provide the sensors with a clear view to the headset. |
|
|
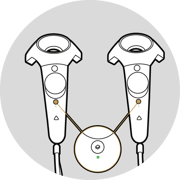
7. Switch on the controllers by holding down the
|
|
|
8. Go to the Simulator workstation and perform the following steps 9 to 14. |
|
|
9. Start the VIVE Wireless application. |
|
|
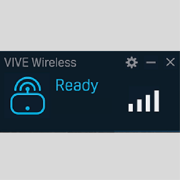
10. Wait until VIVE Wireless is ready.If the Headset does not connect make sure it is connected to power (green LED blinking) and clearly visible for the VIVE Wireless Wall Sensor. |
|
|
11. Start the SteamVR application. |
|
|
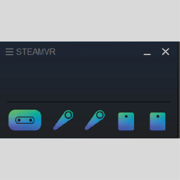
12. Wait until all symbols appear colored. Notice: The headset and controllers may switch to standby mode. Move them slightly to re-activate them.If the headset does not show up, make sure it is still connected to power and not in standby mode. |
|
|
13. Start the Innerspace Simulator Hub application. |
|
|
14. Continue with the instructions on the poster.The instructions on the poster can also be found here. |
Next step: Perform a Simulator session
|
Further assistance on our Support Page. |
|


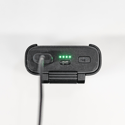 The power bank indicates the charge state with four green LEDs (25%, 50%, 75%, 100%).